Monthly Archives: June 2013

RSS Error: WP HTTP Error: name lookup timed out — Hosed up DNS settings

Background on the wordpress dashboard error message: “RSS Error: WP HTTP Error: name look-up timed out” — out of nowhere I got this error message on the dashboard for my wordpress blog and my pages were displaying very slowly, especially the widgets on the right hand column, even after updating my WooCommerce Recurring Payments.

It turns out that my server (it’s a fedora linux system  running in my basement, I am the system admin) required a change to the DNS settings. I knew these changes were going to be needed, but I wasn’t sure when and this error was the first symptom that told me I should have planned ahead a little better.

I was changing ISPs and my home network DNS settings needed to change from 192.168.100.155 to 192.168.100.164.

  • I edited my /etc/resolv.conf file,
  • I edited the files under /etc/sysconfig, and then
  • I restarted my web server.

And everything was fine. But it wasn’t as easy as it sounds. Here’s some notes for my reference and the potential benefit of others:

/etc/resolv.conf

For a quick test, go to a command line and try to ping yahoo.com. This didn’t work for me. My old ISP’s DNS server had gone offline. This was expected, and I need to update my settings.

The file /etc/resolv.conf is the key file that gets looked at for “every” DNS lookup. Anything on your Linux system that uses gethostbyname() checks this file. In theory all I have to do is edit this file and it should fix my “RSS Error: WP HTTP Error: name look-up timed out” error.

/etc/resolv.conf

# Generated by NetworkManager
nameserver 192.168.100.164        # was 192.168.100.155

The quick test is to ping yahoo.com. Sure enough it works fine.

/etc/sysconfig

We know from experience, that the /etc/resolv.conf file is generated by the Fedora NetworkManager configuration service. So go into /etc/sysconfig and find all matches to the old IP address and switch it to the new. For example, I ran the following bash command line to find the files I needed to edit:

[root@kozik2 sysconfig]# grep -r 192.168.100.155 * | grep DNS
networking/profiles/default/ifcfg-eth0:DNS1=192.168.100.155
networking/devices/ifcfg-eth0:DNS1=192.168.100.155
network-scripts/ifcfg-eth0:DNS1=192.168.100.155

I went into each of these files and edited the 155 to 164. This way, when the NetworkManager gets run next, my /etc/resolv.conf won’t revert back to its old settings.

Not enough, I needed to troubleshoot

So I thought I knew what I was doing. If I fixed the DNS IP address, but I was still getting the “RSS Error: WP HTTP Error: name lookup timed out” error on my blog’s dashboard and the posting pages were very very slow to display. Something still wasn’t right with wordpress.

Since ping now worked, I decided to run tcpdump and see what’s going on:

tcpdump -n port 53 | grep 192.168.100.155

It just sat there. Good, I thought. Next, I then to retrieve my dashboard page, and then the tcpdump started rolling unsuccessful requests to the DNS server at .155 to resolve dashboard.wordpress.com. Ah, I forgot one last step!!

Don’t forget to restart the webserver!!

I forgot that on initialization, php reads from resolv.conf once and then continues to use that same IP address! A simple run of the following command fixed everything:

service httpd restart

I then refreshed my dashboard page and everything came up fast and normal.

Yamaha RX-V475 5.1-Channel Network AV Receiver

Background on our Yamaha RX-V475: our house was hit by lightning. Our 10 year old SONY Receiver was damaged and no longer usable. I would have been perfectly happy getting a like-for-like replacement for our good old SONY but we decided it was time to go shopping for the latest and greatest.

We did a little bit of research online, found good reviews, and then went to Best Buy and bought the Yamaha RX-V475 receiver. We connected it up and got it working just fine, and we were really surprised and delighted with the performance and features. Our music library sounds so much better played through a big receiver connected to our big speakers; so glad to get things working again!

As an old-school receiver person, I have been out of the marketplace for a long time. Since we last bought a receiver, iPhones, home network technology, and the world of HDMI have all become common place. When we got the new Yamaha RX-V475 AV Receiver, there were features that really surprised me… I was WOW’d! Here’s a summary of the new features:

REFERENCE: Yamaha RX-V475 Owner’s Manual

Airplay

Airplay is a feature that lets your iPhone play music directly through the receiver. We have several iDevices in the family and after we connected our Yamaha RX-V475 receiver to our home network, a little icon appeared in the music play app — this icon is the Airplay icon.

Press the Airplay icon and it will prompt you to play your music on the Yamaha. The Airplay icon shows, as follows on the play bar in you music app..

Wow, how long has this been around? I never knew about Airplay. This was so easy to use and works so well. Wow!

Just so you know:

  • the iPhone needs to be on the home WIFI network;
  • the Yamaha receiver only has a LAN cable. We were easily able to run a LAN cable to the receiver, but if that’s hard for you, then you can buy a WIFI adapter.
  • if two family members both want to play their music on the Yamaha at the same time, the receiver listens to the most recently touched iPhone. This can lead to accidental music switching.
  • I have iTunes installed on a home PC. Even that PC has an Airplay icon.

Reference: Airplay WIKI

Android App

The receiver comes with an Android App called “AV Controller.”

I was surprised at how well this worked. I thought I would just use the included clicker as the remote. But the Android App was really easy to setup and use. It works over my home WIFI, so I can control the receiver from anywhere in the house.

The app does what you’d expect. I can control volume/mute, inputs, radio tuning (AM/FM/Internet), or with a hat-tip to Airplay, the app lets you play music on your Android gadget through the receiver; the album art work and songlist display in the app with a look and feel much like an iPhone.

Again, your old-school author here had no idea that the Android App was so good. I was delighted. My son who has a Samsung Galaxy, got his app working with the receiver in just a few minutes.

Reference: AV Controller in Google Play

Music Through USB

So, I’ve known about music through USB for years. This is a feature we know from cars and clock radios. You plug a USB stick into a player, it finds the music and let’s you play it as if you were using an iPod.

What was new for me was that I could plug my old iPod (iPod Touch from 2008) into the USB slot. We used our white USB iPod sync cable to connect the iPod to the Yamaha.

From the front panel, the Yamaha RX-V475 receiver’s clicker, or the Android App, the receiver very intelligently treats content from the USB input; it lets one select music from the USB input and play through the receiver.

Our good old iPod had all of our family holiday and dinner background music. We used to take the audio output of the iPod and feed it into the AUX input of our old receiver. Much improved, we can now remotely play music from this iPod. This is improved  enough so for me to react with yet another wow!

Monitor Music Play Through TV Screen

We mostly use the Yamaha RX-V475 AV Receiver for playing music. The VFD front panel display and the iPhone or Android app user interface is really all you need for music.

We noticed that if you turn on the TV, the Yamaha RX-V475 displays useful information about the music (think iPod screen level of detail). It turns out this was way more useful than I though it would be.

Initially, I was wow’d by this feature. I liked it and I really didn’t expect it. Now that we’ve used it a little while, the TV display is MS-DOS text like vs Windows style graphics. (think original iPod vs iPhone). This user interface should be improved.

When Off, HDMI Passes Through

When the Yamaha Receiver is off, the HDMI inputs are still passed through to the outputs. This is surprisingly useful for our setup.

Our setup feeds the HDMI outputs from our STB, our XBOX, and our Blueray player into the Yamaha AV Receiver. The Yamaha then send one HDMI output to our TV. The receiver is basically an HDMI hub. The receiver takes the sound from the selected input (eg STB) and plays it through our speakers.

When the receiver is turned off, the HDMI hub function is still active. In the most typical case, when we are just watching TV, we turn off the receiver and listen to the sound through the TV speakers. My expectation was that when the receiver was off, the HDMI hub function was off, too. I was delighted (slightly wow’d) that the HDMI switching worked well for our case.

Digital Living Network Alliance – DLNA

Not new, and no surprise for us, the Yamaha Receiver’s network connection very easily discovered our music on our DLNA-enabled backup server. DLNA technology is not new to us and this worked as expected.

For background: DLNA is a technology that lets computers share music, photos and video across a network connection. When enabled on a computer, that computer advertises that it has DLNA formated content and any DLNA-aware player on the same network will offer a menu of that content.

Buffalo LinkstationOur home backup server is a Buffalo Linkstation. It has a DLNA server installed on it. From the “NET” button on the clicker or the front panel, press it a couple of times until you see the “SERVER” as the input source. Then from the display on the front panel or the TV screen scroll down to the DLNA server. By default, the Linkstation has some arcane name with “WXL” in it.

This is kinda cool. I know its there, but I am much more likely to play from my iPhone than use this capability.

Independence Hall

Philadelphia City Center Walk – Parkway and Old City Districts

Late morning walk from City Hall to Philadelphia Museum of Art
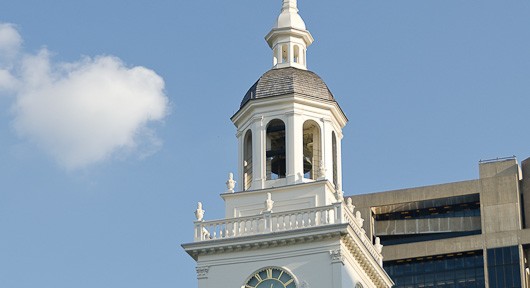
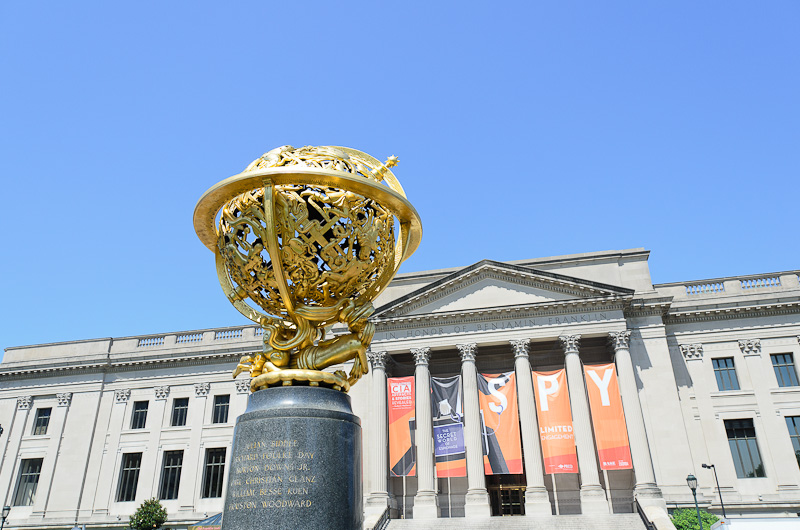
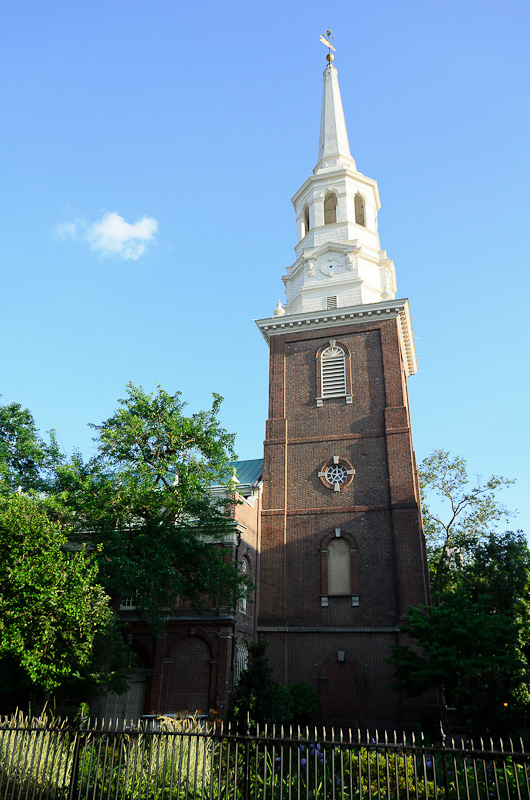
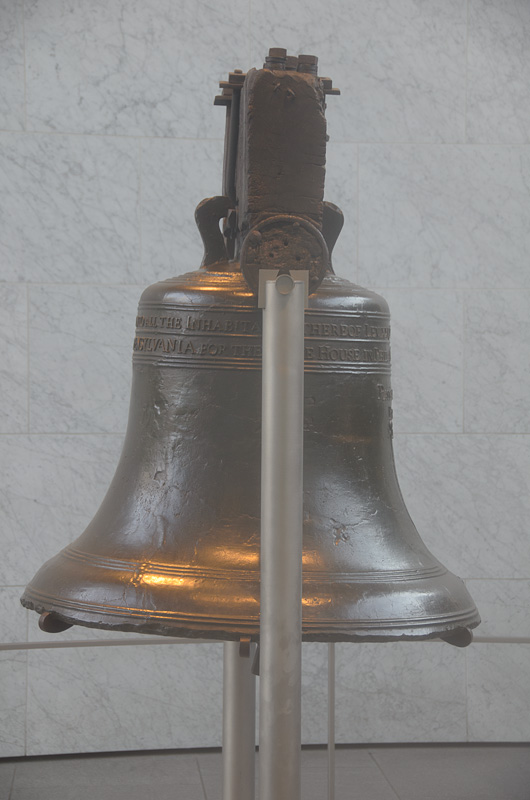
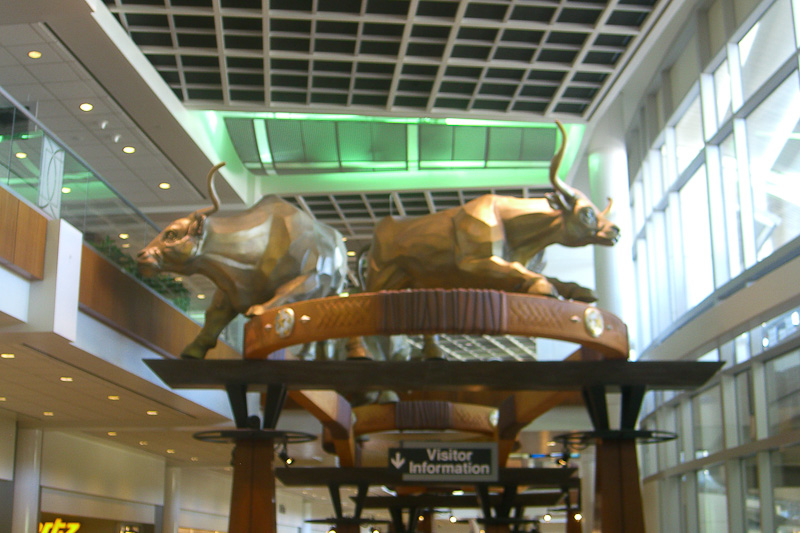
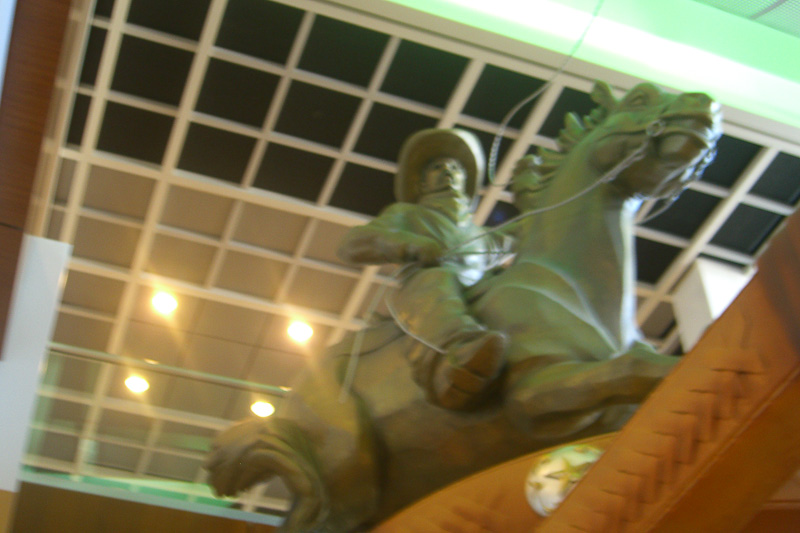
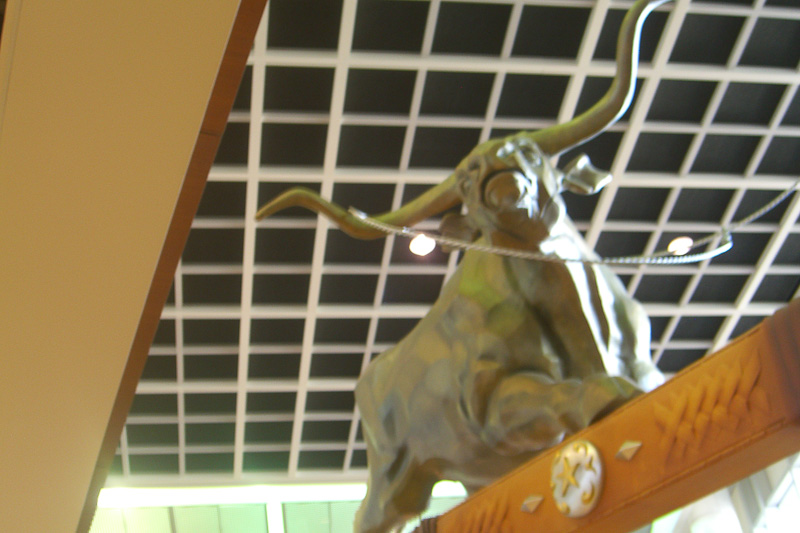
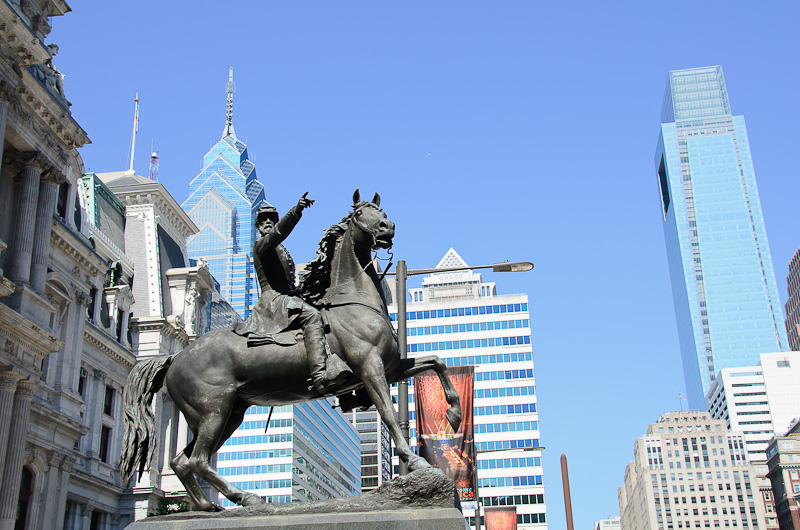
Background on my Philadelphia City Center Walk:  I was scheduled for an afternoon of meetings in one of the beautiful skyscrapers in Philadelphia’s city center.  I arrived a few hours early and went for a walk through the west side of the city center, called the Parkway District.  Then after my meetings and post meetings were done, I went for another walk through the east side of the city center, call the Old City District.  This posting puts these two walks together into one trip report.

Parkway District.

Aero MemorialI checked into my hotel near the convention center, then I walked west along Filbert Street, passed the City Hall, then turned onto the Benjamin Franklin Parkway and walked all the way to the Philadelphia Museum of Art.

Along the way, I saw: the Masonic Temple, Arch Street United Methodist Church, Municipal Services Building, the distinctive “Your Move” gameboard style sculpture on the plaza, Benjamin Franklin Craftsman bronze statue, Government of the People sculpture, LOVE Park, Pennsylvania Railroad Suburban Station, Mellon Bank Center skyscraper, Comcast Center, Bell Atlantic Tower, Arch Street Presbyterian Church.

When I turned onto the Parkway, I saw: the Philadelphia Cathedral, Swann Memorial Fountain in Logan Square, All Wars Memorial to Colored Soldiers and Sailors, Aero Memorial in front of the Franklin Institute Science Museum, Civil War Sailors Memorial, Rodin Museum, The Washington Monument fountain and sculpture, and the famous Rocky statue at the foot of the stairs to the Philadelphia Museum of Art.

Rocky

The morning was crystal clear, with beautiful lighting.  The City Hall was nice, the skyscrapers looked really striking, and the Parkway was most enjoyable. The walk was a nice way to spend some time before my meetings.

Reference: Parkway Museums District

Old City District.

Christ Church SteepleAfter all of my meetings and post meetings were done, I went back to my hotel then started my walk heading East along Arch Street.  I zigzagged over to Market Street.  I kept going all the way to the Penn’s Landing on the Delaware River.  I then looped back heading West along Chestnut all the way back to 11th St and back to my hotel.

Along the way, I saw: the Friendship Arch in China Town, Independence Mall, National Constitution Center, Liberty Bell, Independence Hall, “George Washington” bronze statue, Lafayette Building, The Second Bank of the United States, Philadelphia Bourse, Christ Church, Battleship New Jersey, The Irish Memorial, US Custom House, First Bank of the United States, Robert N.C. Nix, Sr. Federal Building, Federal Reserve Bank of Philadelphia Building, Reading Terminal Headhouse, and many more historic sites.

The evening was really pleasant with again some really nice late afternoon lighting.  Many restaurants and night spots were open and the general vibe was lively and fun.  The area is really historic and it’s worth looking up the WIKI on the Old City and Independence Mall areas.

Liberty Bell

Reference: Old City District

Tips:


My visit was done without a rental car.  I took the Septa train from the PHL airport and got off at the Market East station.  This station was walking distance from my hotel.  The train ride was about 20 minutes. Reference: Airport Line Regional Rail Schedule

I was surprised at how wiggly  my GPS tracks were for this visit.  I have seen this before, especially when walking in urban canyons.  The skyscrapers fooled my GPS a couple of times where the GPS track was off by as much as a city block.  I fixed the location of the photos, but I left my tracks file in zig-zag mode.

Here’s a pointer to the map my hotel supplied me.
Philadelphia City Center Walk – Museum of Art to Penn’s Landing at EveryTrail

DFW Rental Car

DFW Airport Rental Return

About DFW Airport Rental Return: if you are in the North Dallas area, to return your rental car you need to head back to a specific address at the DFW Airport:

Center Garage Dr and Passport Dr, Irving, TX 75062 (DFW Airport Rental Return)

You can follow the signs to DFW, but they will take you to the North entrance to the airport. You’ll have to drive the length of the airport, another 6 miles South to get to the DFW Rental Car Center.  Last week, I was in Plano; from there, you take President George Bush Turnpike (PGBT) until it turns into 161, then exit onto Northgate Dr, and head West.

Save DFW Airport Rental Return address into your phone’s Google Map

So if you have a chance, program the address above into your mobile phone’s google map. Just telling google maps that you want to go to DFW is not good enough. For me, I’ve entered this address into Google Maps MyPlaces.

In Android Google Maps applications, the addresses in my MyPlaces are found under the Layers icon in the lower right of the screen (looks like three sheets of paper stacked). I click on MyPlace, then look for the location I saved. You probably already have your favorite way of saving location short cuts. This is just a suggestion.

You don’t have to save anything.  You can use the microphone feature inside of Google Maps; I found that saying “Passport Dr Irving Texas” into the microphone inside of Google Maps works good, too.  You can just type this same phrase into Google Maps.  I like pre entering my travel destinations into my phone as part of my travel planning.,

Some additional addresses

Chevron Gas Station, 5075 West Northgate, Irving, TX 75062
- In my experience, this is the best gas station to stop at and refill your rental car. In fact, this might be the address you put in your Google Maps app while driving to the airport. Stop here, then continue for another 1.5 miles along Rental Car Drive to the Rental Return.

DFW Rental Car Center, 2424 East 38th Street, Irving, TX 75062
- This address is for the front entrance to the Rental Car building. To return your cars, you need to go to the back. This is the address on the airport website. It works, but it confused me.

I was driving during rush hour, the last two miles of 161 (PGBT) was backed up. It wasn’t too bad, and it wouldn’t change my advise.

Tracks from my GPS

Above is a google map with tracks from my GPS device (I use a Garmin GPSMAP 60CSx).  The red box out lines the DFW Rental Car Center.  The orange line represents the track I followed to leave the airport; the purple line is my track back to the DFW Airport Rental Return. The flag labeled R is the rental car return entrance (Avis, Hertz).  The R location is the address I site at the beginning of this post.  The flag labeled G is the location of the Chevron Gas Station.  Many of us travelers have a money savings routine that includes one last stop at a gas station before returning the rental car.

Note: There’s a divided highway on Valley View Lane.  If you need to leave the gas station from the West entrance, you’ll have to take a right; it will take you a little out of the way, but you can circle back on S Airfield Dr.  See my GPS track in purple on the map above.

OT: DFW Airport Rental Center Public Art

Below are a few images from the beautiful lobby of the DFW Rental Car Center.  These are bronze statues of a cowboy and cattle.  It was striking enough for me to pause and take a couple of pictures.  It’s bigger that it looks.

DFW Rental CarDFW Rental CarDFW Rental Car